Ultrasonic Cleaner Tips for Effective Use and Best Results?
Using an Ultrasonic Cleaner can greatly simplify the cleaning process for various items. This device employs sound waves to create microscopic bubbles, effectively removing dirt and grime. However, to achieve the best results, users must understand how to employ the ultrasonic cleaning technique properly.
Many people overlook specific details when using an Ultrasonic Cleaner. For instance, the choice of cleaning solution can impact the effectiveness of the cleaning process. Using the wrong solution may lead to unsatisfactory results or even damage items. It's essential to research and select appropriate cleaners. Additionally, users should regularly maintain their ultrasonic devices to ensure longevity and optimal performance.
Experimentation plays a key role in mastering the use of an Ultrasonic Cleaner. Each item may respond differently to various cleaning methods. Therefore, testing on small, less valuable items first can help prevent potential mishaps. With practice and consideration of these tips, users can wield the full power of Ultrasonic Cleaners for improved cleaning outcomes.

Understanding Ultrasonic Cleaners and Their Benefits
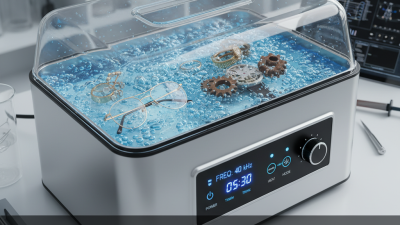
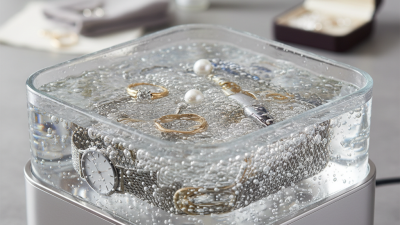
Ultrasonic cleaners are innovative devices that use high-frequency sound waves to clean various items effectively. They generate tiny bubbles in a solution, creating a gentle scrubbing action. This method reaches intricate details and hard-to-reach areas, making it ideal for jewelry, glasses, and dental tools. The benefits include thorough cleaning without harsh chemicals, preserving the original quality of the items.
Understanding how to use these cleaners is essential for getting the best results. The type of cleaning solution used can significantly impact effectiveness. Water may suffice for light cleaning, but adding a specific ultrasonic detergent enhances performance. Users should experiment to find the right solution and cleaning time for different items.
It's critical to avoid overloading the tank; items should have enough space for bubbles to circulate freely. Remember, not all materials are suitable for ultrasonic cleaning. Some delicate items may not withstand the agitation, leading to damage. It's important to continually assess and reflect on cleaning practices.
Choosing the Right Cleaning Solution for Your Needs
When selecting the right cleaning solution for your ultrasonic cleaner, consider the material of the items being cleaned. Certain metals, like aluminum, can corrode easily when exposed to harsh solvents. A gentle and specialized cleaning solution can effectively remove grime without causing damage. According to industry reports, nearly 30% of ultrasonic cleaner users experience unsatisfactory results due to improper cleaning solutions.
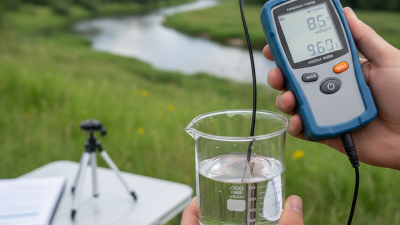
pH levels also play a crucial role. Most ultrasonic cleaning solutions have an optimal pH range between 7 and 10 for effective cleaning. Solutions outside this range may not perform well. For example, a highly alkaline solution might clean effectively but could lead to residue buildup. The ideal solution should not be too concentrated; a balance is essential for best results.
Be aware that not all solutions suit all applications. Some users mistakenly apply the same cleaner for jewelry and industrial parts. This can lead to unexpected damage or ineffective cleaning. It's advisable to test a small batch first. Many professionals recommend conducting trials to determine the best solution. Adjustments to cleaning times and solution concentrations can also enhance results.
Ultrasonic Cleaner Tips for Effective Use and Best Results
| Cleaning Solution Type |
Material Compatibility |
Best Use Cases |
Dilution Ratio |
Temperature Range (°C) |
| Water-Based Detergent |
Metals, Glass, Plastics |
Jewelry, Optical Lenses |
1:10 |
20-60 |
| Solvent-Based Cleaner |
Metals, Ceramics |
Industrial Parts, PCB |
1:5 |
25-75 |
| Acidic Cleaner |
Metals, Glass |
Rust Removal, Miscellaneous Deposits |
1:15 |
30-80 |
| Alkaline Cleaner |
Metals, Plastics |
Heavy Oil, Grit |
1:20 |
30-70 |
Step-by-Step Guide to Operating an Ultrasonic Cleaner
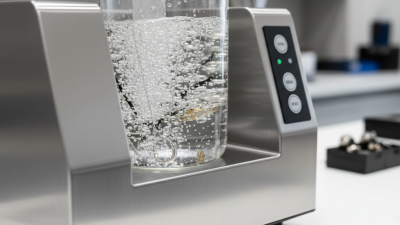
Operating an ultrasonic cleaner effectively requires attention to detail. Start by filling the tank with the recommended cleaning solution. Ensure the items to be cleaned are immersed well. Inadequate immersion can lead to uneven cleaning. Adjust the temperature for optimal results, as certain contaminants respond better at specific temperatures.
Timing is crucial. Overexposure can damage delicate items, while underexposure may leave residue behind. Observe your items closely; a few minutes can make a significant difference. Consider scaling your approach, beginning with a short cleaning cycle. Extend the time as you monitor the results.
When using an ultrasonic cleaner, it's wise to experiment with different solutions. Some items may not react well to certain cleaners. Always test a small area when in doubt. This precaution helps avoid potential damage. Regularly cleaning the ultrasonic unit itself is also important. Neglect can lead to decreased performance and reliability.
Tips for Optimizing Cleaning Time and Temperature Settings
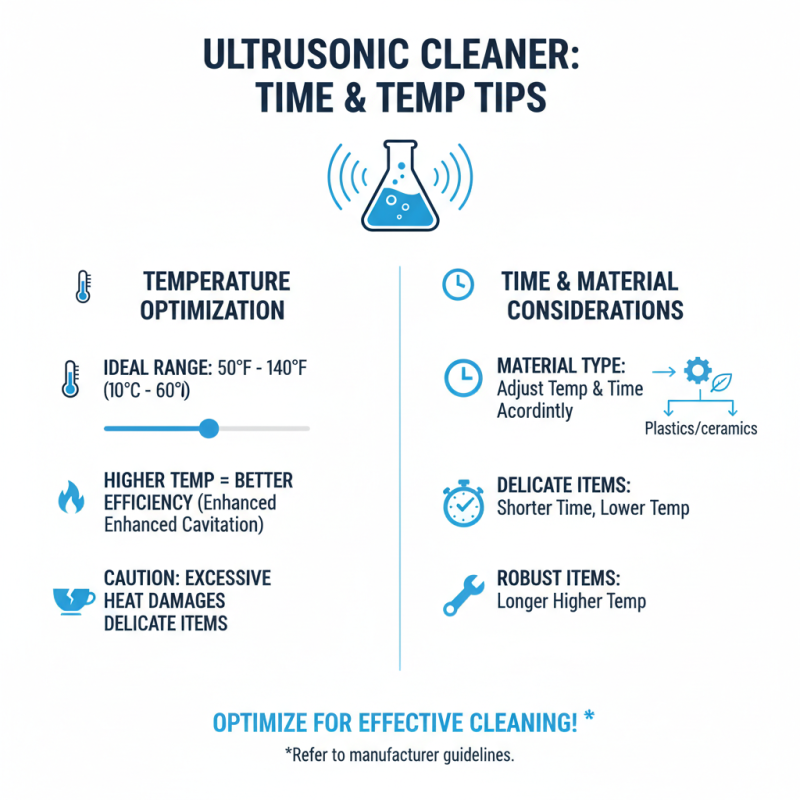
When using an ultrasonic cleaner, optimizing temperature and cleaning time is crucial for effective results. Research shows that the ideal cleaning temperature typically falls between 50°F and 140°F. Higher temperatures can enhance cavitation, improving cleaning efficiency. However, excessive heat can damage delicate items. It's essential to understand the materials being cleaned and adjust the temperature accordingly.
Cleaning time varies based on the item and the level of soiling. For general cleaning, a duration of 5 to 10 minutes is often sufficient. However, intricate items may require longer exposure. Industry reports suggest that prolonged cleaning times beyond 30 minutes can lead to diminishing returns. This could cause potential damage to sensitive components, urging users to monitor the process closely.
Paying attention to both variables can significantly impact results. A balance must be struck between time and temperature to avoid over-cleaning or insufficient results. Experimentation may be necessary to find the perfect combination for each specific application. It’s a learning curve that involves observing the cleaner’s performance and making adjustments as needed. Regular reviews of the outcomes will yield better insights over time.
Maintaining Your Ultrasonic Cleaner for Long-lasting Performance
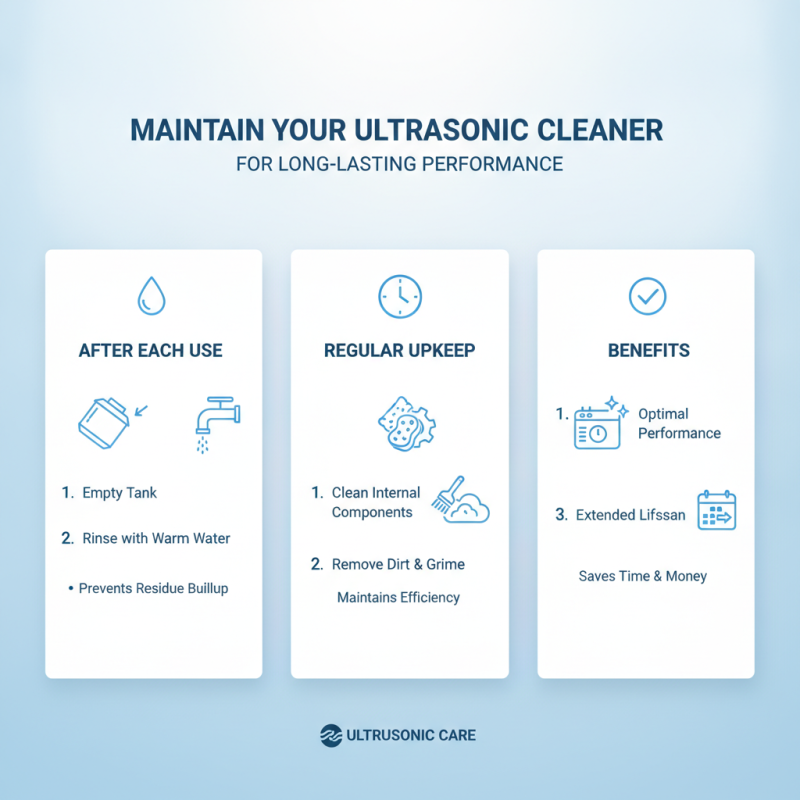
Maintaining your ultrasonic cleaner is essential for optimal performance. Regular cleaning and upkeep will extend its lifespan significantly. After each use, empty the tank and rinse it with warm water. This simple step prevents residue buildup and keeps the internal components functioning well. Over time, dirt and grime can accumulate, affecting efficiency.
Check the ultrasonic transducer periodically. If it shows signs of wear, replacement may be necessary. Ensuring that all parts are functioning correctly is vital for achieving the best cleaning results. Avoid using harsh chemicals that could damage the cleaner. Instead, opt for gentle cleaning solutions that are safe for both the machine and the items you clean.
Consider the operating environment as well. Place the cleaner on a stable surface to minimize vibrations. This will not only enhance cleaning effectiveness but also prevent undesired damages. Inspect power cords for fraying, which can pose safety risks. Focusing on these details fosters a responsible cleaning approach, ensuring your ultrasonic cleaner remains reliable over time.