How to Use an Ultrasonic Bath for Effective Cleaning?
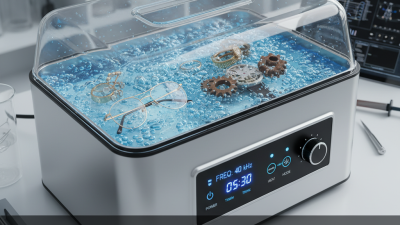
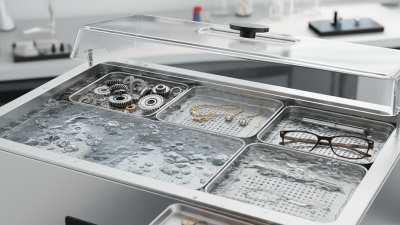
An Ultrasonic Bath is a powerful tool for cleaning various items. This device uses high-frequency sound waves to create tiny bubbles in a liquid. These bubbles implode, generating a scrubbing action that effectively removes dirt and grime. Many people use ultrasonic baths for jewelry, glasses, and small engine parts.
Using an Ultrasonic Bath can be straightforward, but it requires some care. Overloading the tank can lead to uneven cleaning results. The cleaning solution also matters. A standard water solution may not be enough for tough stains. It is crucial to find the right mixture for your specific needs.
Cleaning efficiency can vary based on factors like temperature and time. Setting the correct duration is essential, as too little time may leave residue. On the other hand, excessive cleaning could damage delicate items. An Ultrasonic Bath provides great results but demands attention and reflection on the cleaning process.
Understanding Ultrasonic Cleaning Technology
Ultrasonic cleaning technology is a powerful tool for achieving effective cleanliness. It operates using high-frequency sound waves that create millions of microscopic bubbles in a fluid. This process is known as cavitation. When the bubbles implode, they release significant energy, dislodging dirt and contaminants from surfaces. According to a study published by the Cleaning Industry Research Institute, ultrasonic cleaning can remove over 99% of contaminants from intricate parts.
This technology is versatile and suitable for various materials, including metals, glass, and plastics. It is particularly effective for complex geometries where traditional cleaning methods may fall short. However, achieving optimal results requires attention to detail. Factors such as cleaning solution type, temperature, and ultrasonic frequency all play a role. Not all materials can withstand ultrasonic cleaning. Sensitive items, like electronic components, may be damaged if not handled properly.
Despite its effectiveness, limitations exist. For instance, some very stubborn residues may still require manual cleaning or additional scrubbing. Users must also be mindful of the acoustics of the environment, as uneven sound distribution can lead to inconsistent cleaning outcomes. Continuous research is vital to enhance this technology further and improve user experience across diverse applications.
How to Use an Ultrasonic Bath for Effective Cleaning? - Understanding Ultrasonic Cleaning Technology
| Application |
Frequency (kHz) |
Cleaning Time (minutes) |
Best Cleaning Solution |
Typical Results |
| Jewelry |
40 |
5 |
Mild detergent |
Restored shine and clarity |
| Optical Lenses |
35 |
10 |
Specialized lens cleaner |
No residues, crystal clear |
| Automotive Parts |
28 |
15 |
Heavy-duty degreaser |
Thoroughly cleaned without scrubbing |
| Electronic Components |
40 |
8 |
Isopropyl alcohol solution |
Remove flux and debris effectively |
| Dental Tools |
30 |
12 |
Enzymatic cleaner |
Sterilized and clean instruments |
Choosing the Right Ultrasonic Bath for Your Needs
Choosing the right ultrasonic bath is essential for effective cleaning. These devices use high-frequency sound waves to eliminate contaminants from various surfaces. They are widely used in industries such as jewelry, electronics, and healthcare.
When selecting an ultrasonic bath, consider the tank size. A larger tank accommodates bigger items but requires more cleaning solution. The frequency is another critical aspect. Most ultrasonic baths operate between 20 kHz and 40 kHz. Lower frequencies are better for heavy cleaning tasks, while higher frequencies work well for delicate items. According to industry reports, cleaning efficacy can improve by 50% with the right frequency and temperature settings.
Pay attention to the cleaning solution too. Some materials are sensitive to certain chemicals. Using the wrong solution can damage items and may even stain them. This trial-and-error approach can slow down productivity. Aim for a balance between cleaning power and item safety. As you delve into ultrasonic cleaning, remember that fine-tuning your setup can lead to better results.
Preparing Items for Ultrasonic Cleaning
Preparing items for ultrasonic cleaning is essential for achieving the best results. Start by inspecting your items carefully. Look for loose parts or delicate components that may be damaged during the cleaning process. Secure or remove any removable parts, like batteries or electronic components.
Rinse the items under running water before placing them in the ultrasonic bath. This helps to remove larger debris and dirt. Ensure that the items are compatible with ultrasonic cleaning. Some materials, like certain plastics, may not withstand the ultrasonic waves.
Tips: Use a soft brush to dislodge stubborn dirt before submersion. Make sure your items are completely submerged in the cleaning solution. Avoid overloading the ultrasonic bath, as this can hinder effective cleaning. It’s better to clean in smaller batches. After cleaning, rinse the items thoroughly to remove any remaining cleaning solution. Reflect on the process; are there areas you can improve next time?
Step-by-Step Guide for Using an Ultrasonic Bath
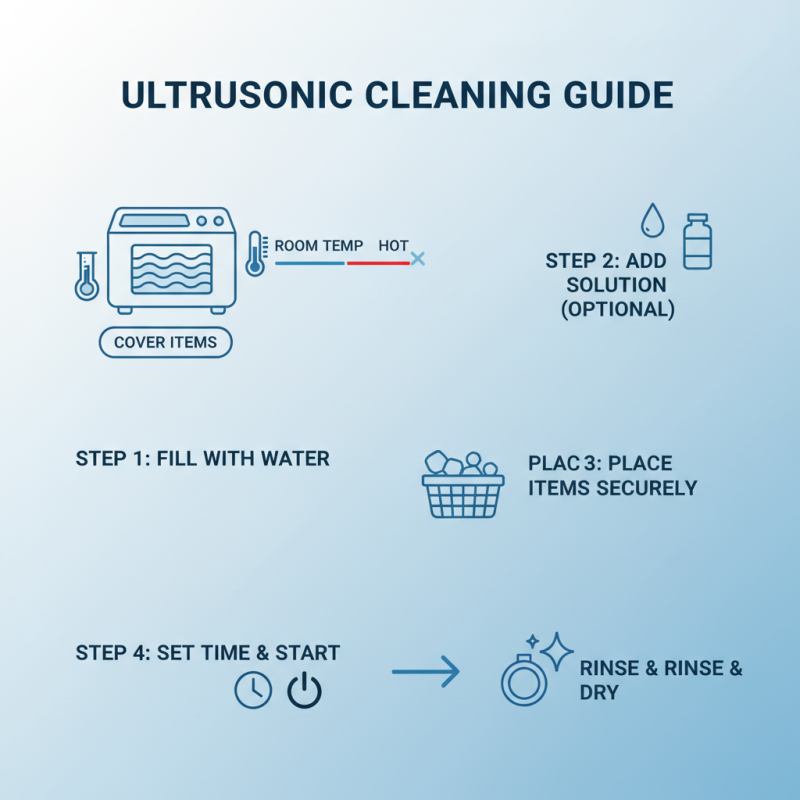
Using an ultrasonic bath for cleaning can be quite effective when done correctly. Here's a step-by-step guide to help you get started. First, fill the ultrasonic bath with water, ensuring it covers the items you want to clean. The water should be at room temperature; too hot can damage delicate items.
Next, add a suitable cleaning solution. A few drops can make a huge difference. Start the machine, and let it run for about 3-5 minutes. This is usually enough time for good results. Be sure not to overcrowd the basket. It can hinder the cleaning process.
**Tips:** Always check items for compatibility with ultrasonic cleaning. Some materials may not respond well. Remember to clean your ultrasonic bath regularly to maintain its efficiency. After cleaning, rinse items thoroughly. Residue can remain, even after ultrasonic cleaning.
Practice makes perfect. Don’t be afraid to experiment with settings and times to find the best method for your specific items. Keep an eye on the process; sometimes, you might need a bit more time for tough stains.
Maintenance Tips for Your Ultrasonic Cleaning Device
When using an ultrasonic cleaning device, proper maintenance is crucial for optimal performance. Regularly check the ultrasonic tank for residues. Dirt can accumulate over time, affecting its effectiveness. Make sure to drain and clean the tank after each use. Use a soft cloth for the exterior to keep it looking neat.
Another tip is to change the cleaning solution frequently. Old solutions can become less effective, leading to poor cleaning results. This is often overlooked but essential. Some users might forget to adjust the temperature settings. The right temperature significantly boosts cleaning power. If you notice stubborn residues after cleaning, reflect on your process.
Lastly, inspect the ultrasonic transducers as part of routine care. Any signs of wear could lead to uneven cleaning. Furthermore, users sometimes neglect to follow manufacturer guidelines. It may seem minor, but consistency is key for longevity. Making small adjustments can lead to significant improvements in performance.